
As my last couple of days before I go back to work tomorrow, I didn't really push myself to be super-productive. My summer has been productive enough, thank you very much, where work is concerned--I needed some sloth time to get my brain unfried. That being said, I did make significant progress on a quilt that's to be a graduation gift. Since I'd be surprised if any of the people concerned read this blog, I'll go ahead and post a picture of it...

Top complete. The picture stinks because I can't get far enough back from my design wall, and it's very dark in that corner. (The lighting issue is something I'm hoping to have fixed in the next few weeks.) But you get the gist. I'll do a better picture when it's finished.
It's a stack n' slash done with fat quarters from an old Jason Yenter/In the Beginning fabric line. I've had the fat quarters for awhile, and when I found out the grad-in-question's favorite color is purple, it seemed a perfect fit. I'd originally planned to do something a little fancier but when push came to shove, I just wasn't home enough to get anything done. Hence, the grad party being next week and me just getting off the starting block and doing yet another stack n' slash. This is throw size--great for curling up in during late night study sessions.
I'd hoped to get started on quilting it today until I realized I have no appropriate fabrics for backing. I'll have to make a quick run out tomorrow to find something.

Meanwhile, today was Betty Homemaker day. I currently have this rising in the kitchen, getting ready to do grilled pizza tonight.
I roasted the few little beets we got from our CSA this week (it's been a tough year for produce hereabouts), and I have pancetta, sausage, pepperoni, spinach, red and green bell peppers, onions, Parmesan. mozzarella, and goat cheeses, so we can get as creative as we want. My husband and son are both gone today, unfortunately, but my nephew is coming over and he and my daughter really get into playing with their pizza combos.

Finally, I'm taking another shot at ice-dyeing. I'm still not convinced this is something I'll want to do all that much. We'll see if the results blow me away this time--they didn't last time. It's a fair amount of mess (more so than standard dyeing) and uses about three times as much dye powder, if not more, so you really have to be committed to it as a style to want to do it often.
Here's everything ready to go in a far corner of my back yard, so when I dump it out the CSI-style stains it leaves in the grass will at least be hidden in the woods and underbrush. (No ma'am, nothing happened here, ma'am!)

If you've never done it before, here's the drill. Fabric is soaked in soda ash-water mixture for awhile first--15 mins minimum, but mine was in for well over an hour as I got other stuff done--then twisted, rolled, or put into whatever manipulation you want onto racks in a bin. I mostly do the scrunchy thing because I like that effect, but the long column one is pleated loosely. You can also put fabrics under the racks to catch the run-off, for different effects. You'll see in the first bin I did that, but not in the second. The third bin (not pictured) has fabrics above and below the rack as well.

Then you pile the ice on.
This got tricky for me because I don't really have any flat spots in my yard so my bins are slanted enough that the ice didn't want to stay nicely piled on top. I propped up one end of the foam board with a stick to even it out some, but I still have edges of fabric with no ice on it. That'll just mean those spots may not get dyed much. I'll live with it. (I did finish piling more ice on after I took this picture but I still have white space on the edges--we'll see what happens.)
By the way, yes, that's a spot of green you see on that fabric under the ice in the lower left. I noticed some nice leaves in the underbrush so laid them as flat as I could on the fabric to see whether they will act as a resist. I doubt it'll work that well since it's not completely flat, but it might be a hint of a leaf image. Always worth trying!
Now, start working as fast as possible so the ice doesn't melt before you can get the dye on!

Teal and purple mix. I work in teal and purple a lot because they're the signature colors of my organization and I'm always thinking about possible items for fundraisers. This is a test to see how this works: If I like it, I'm probably going to try doing some beach-y garments for next summer's fundraiser. I'm also experimenting with the teal and purple in general, since they're both blends and may break in really interesting ways. ("Breaking" is when compound dyes break into their component colors during the dye process. Ice dyeing often causes compound dyes to break, adding to the effect.)

"Intense Blue" and Sunny Yellow. That's my favorite blue dye so far although I was a bit sparing with it because there's some sort of shortage of one of the component ingredients so it's suddenly quite expensive and in limited supply. I hope I used enough to get a decent saturation. In any case, I should get some nice green blends from this combination.

And here's turquoise and fuschia. Just 'cause. I love working with both these colors because, again, they're compound colors and often break in cool ways. And here's to a wonderful purple showing up here and there.
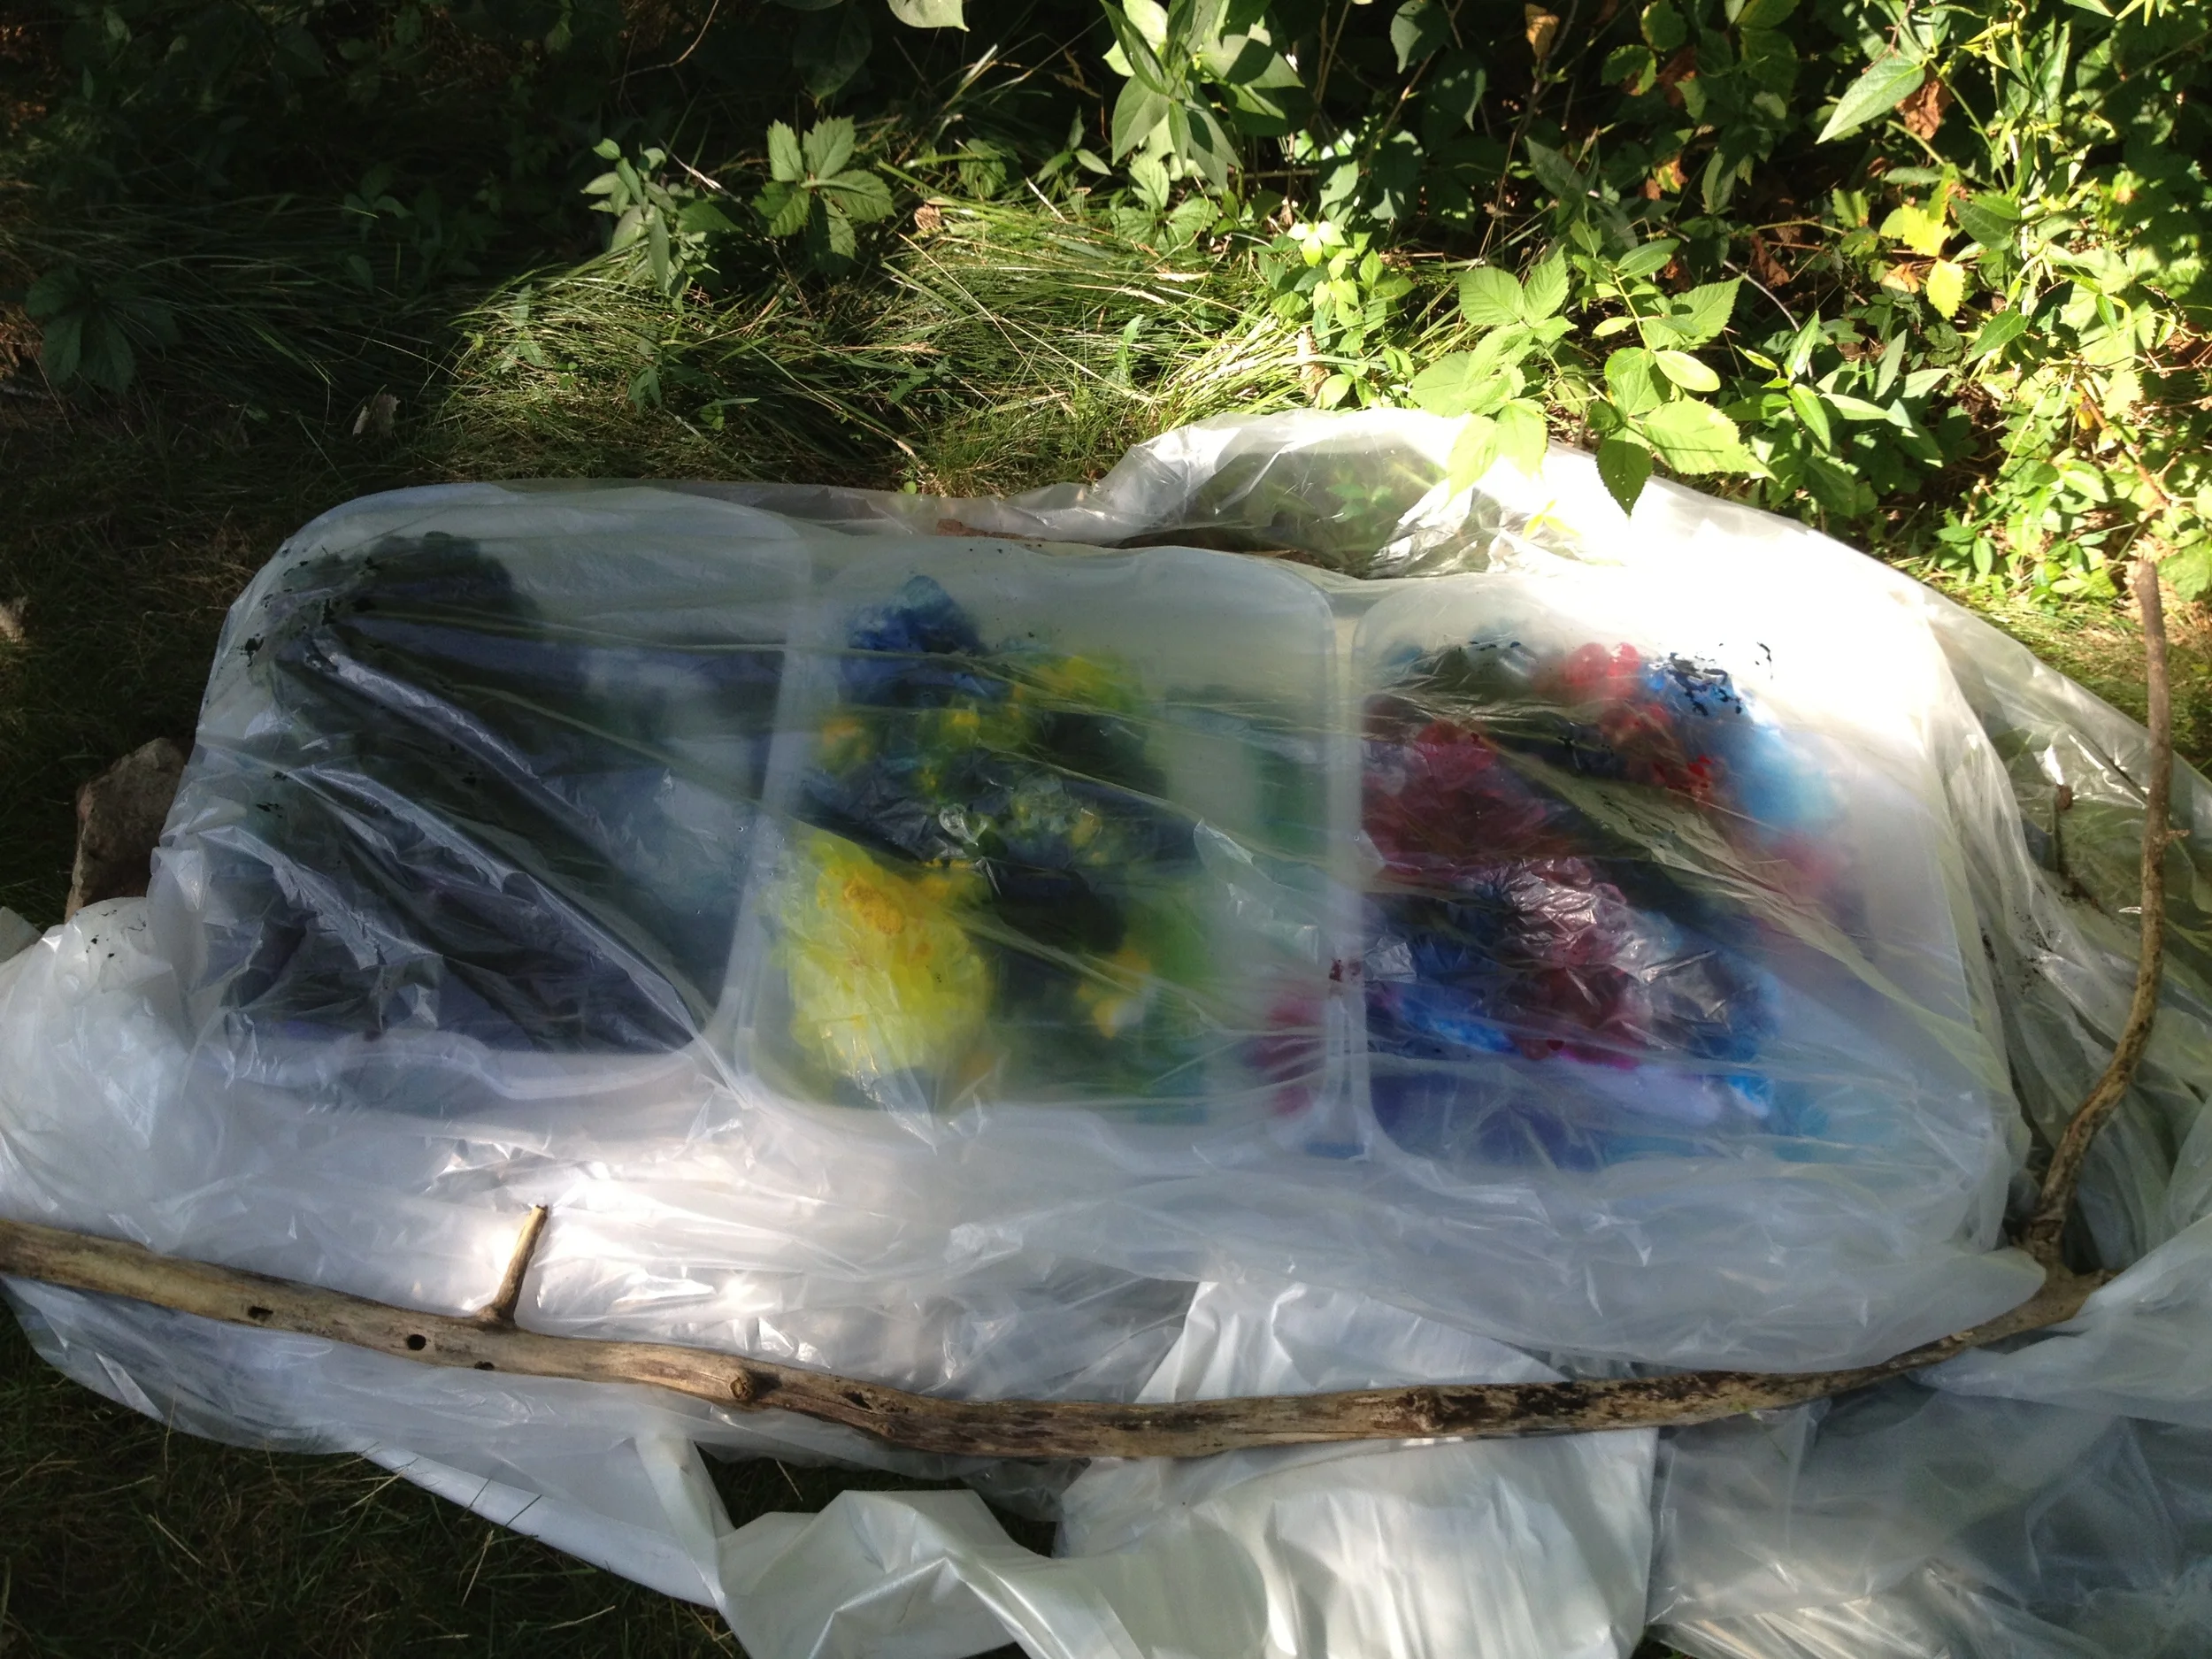
And everything's covered and bedded down for the night. Pretty sure I inadvertently trapped some buggies in there. Sorry, guys. I've got the plastic weighted down in case winds pick up but there's nothing predicted. That, of course, is meaningless. I don't call our house "Windy Hill" for nuttin'.
To wrap this post up, I'll just leave you with a few lovely pictures...


