Get ready for some serious cool.
In more ways than one. (Ar ar ar.)
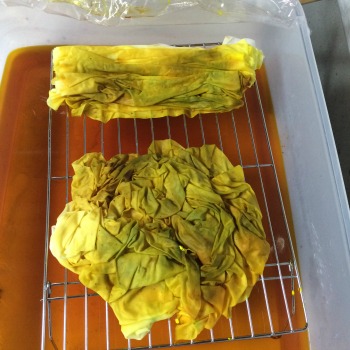
Here are the results of the second batch of snow-dyes I did this weekend, the 3rd batch for the winter (hence, "chapter 3"). I may do another batch tonight since we have about 12" or more of fresh snow out there. Hate to let it go to waste!
For each set, there are two 1/2 yard pieces, and then I took detail shots just so you can really get a feel for the effect that snow-dyeing creates.
First batch: Turquoise and Black.
(Sorry--forgot to write down which black was which. I used 628 for one and 629 for the other--ProChem names.) Yes, it looks like I threw purple in there, but I didn't! That's the black breaking.


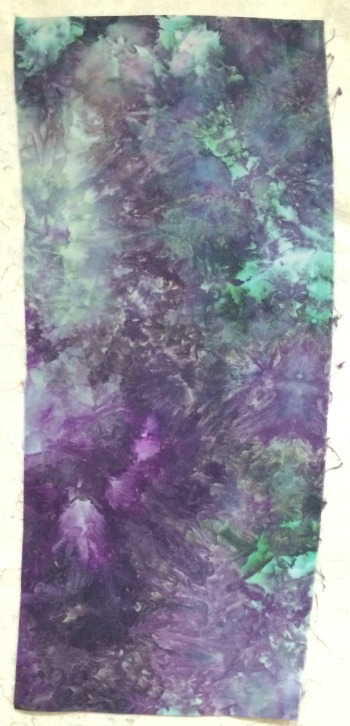
The next batch was one of my favorite combinations to ice dye or snow dye, because it breaks so wonderfully.
Batch 2: Teal, Grape, and Black.
(Whatever number black the other one wasn't). Teal is a Dharma color, the other two are Pro-Chem.

1st piece
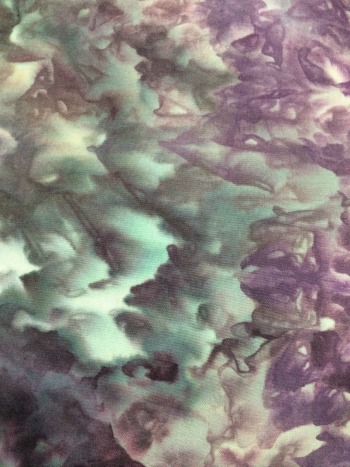
1st piece detail 1

1st piece detail 2

1st piece detail 3
2d piece

2d piece detail 1

2d piece detail 2
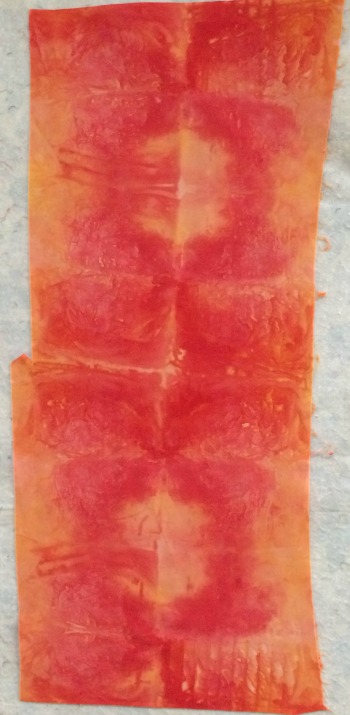
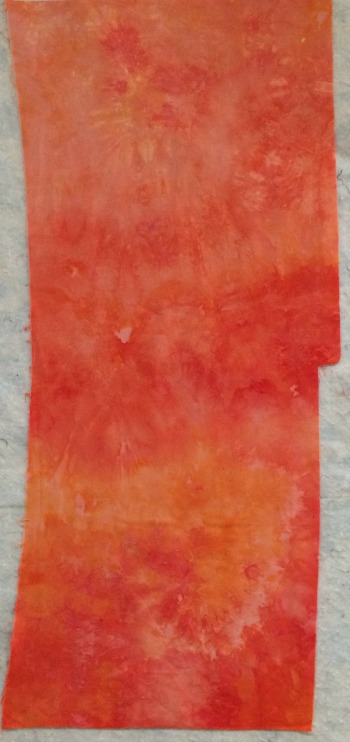
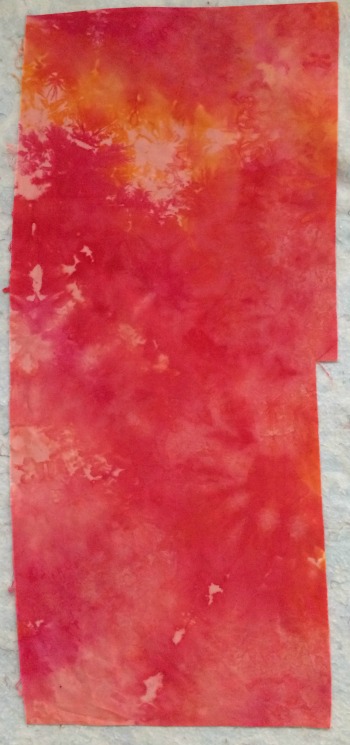
Third batch: Ecru, Old Rose, and Camel.
Now, the final batch heads in a completely different direction. Neutral dyes are just so much fun to break!
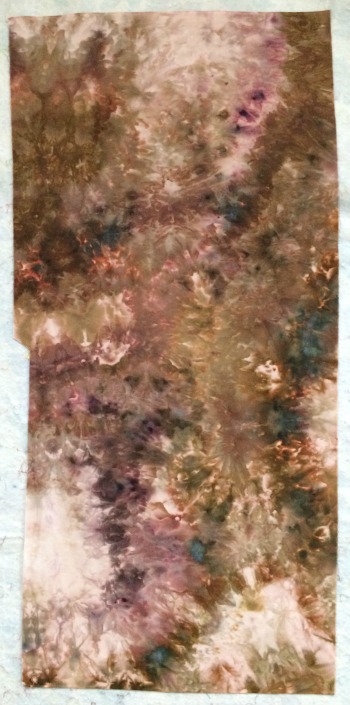
Ecru, Old Rose, and Camel 1st piece

1st piece detail
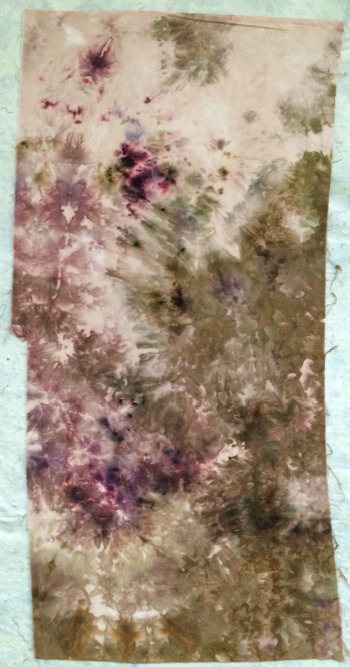
2d piece

2d piece detail
It all looks so cosmic, doesn't it? Groovy.
If you've listened to my most recent episode (posted 2/1/15), you'll know that Sandi of Quilt Cabana Corner and I have challenged one another to a Snow-Dye Duel. Well, okay, a Snow-Dye Art Quilt Challenge. We've both been snow-dyeing lately (she's in MA, I'm in Western NY, we have a lot of raw material to work with these days) so, in order to be sure we use some of these wonderful new creations we're making, we've challenged one another to make some sort of project using at least one--if not more--of our snow-dyes by March 15. At some point, I'm going to have stop dyeing and figure out what I'm going to make.
But wait...What's that I see? More snow falling outside my window? Heading to the basement...