Being a Deconstructionist

(Title in honor of all of us post-modernists….)

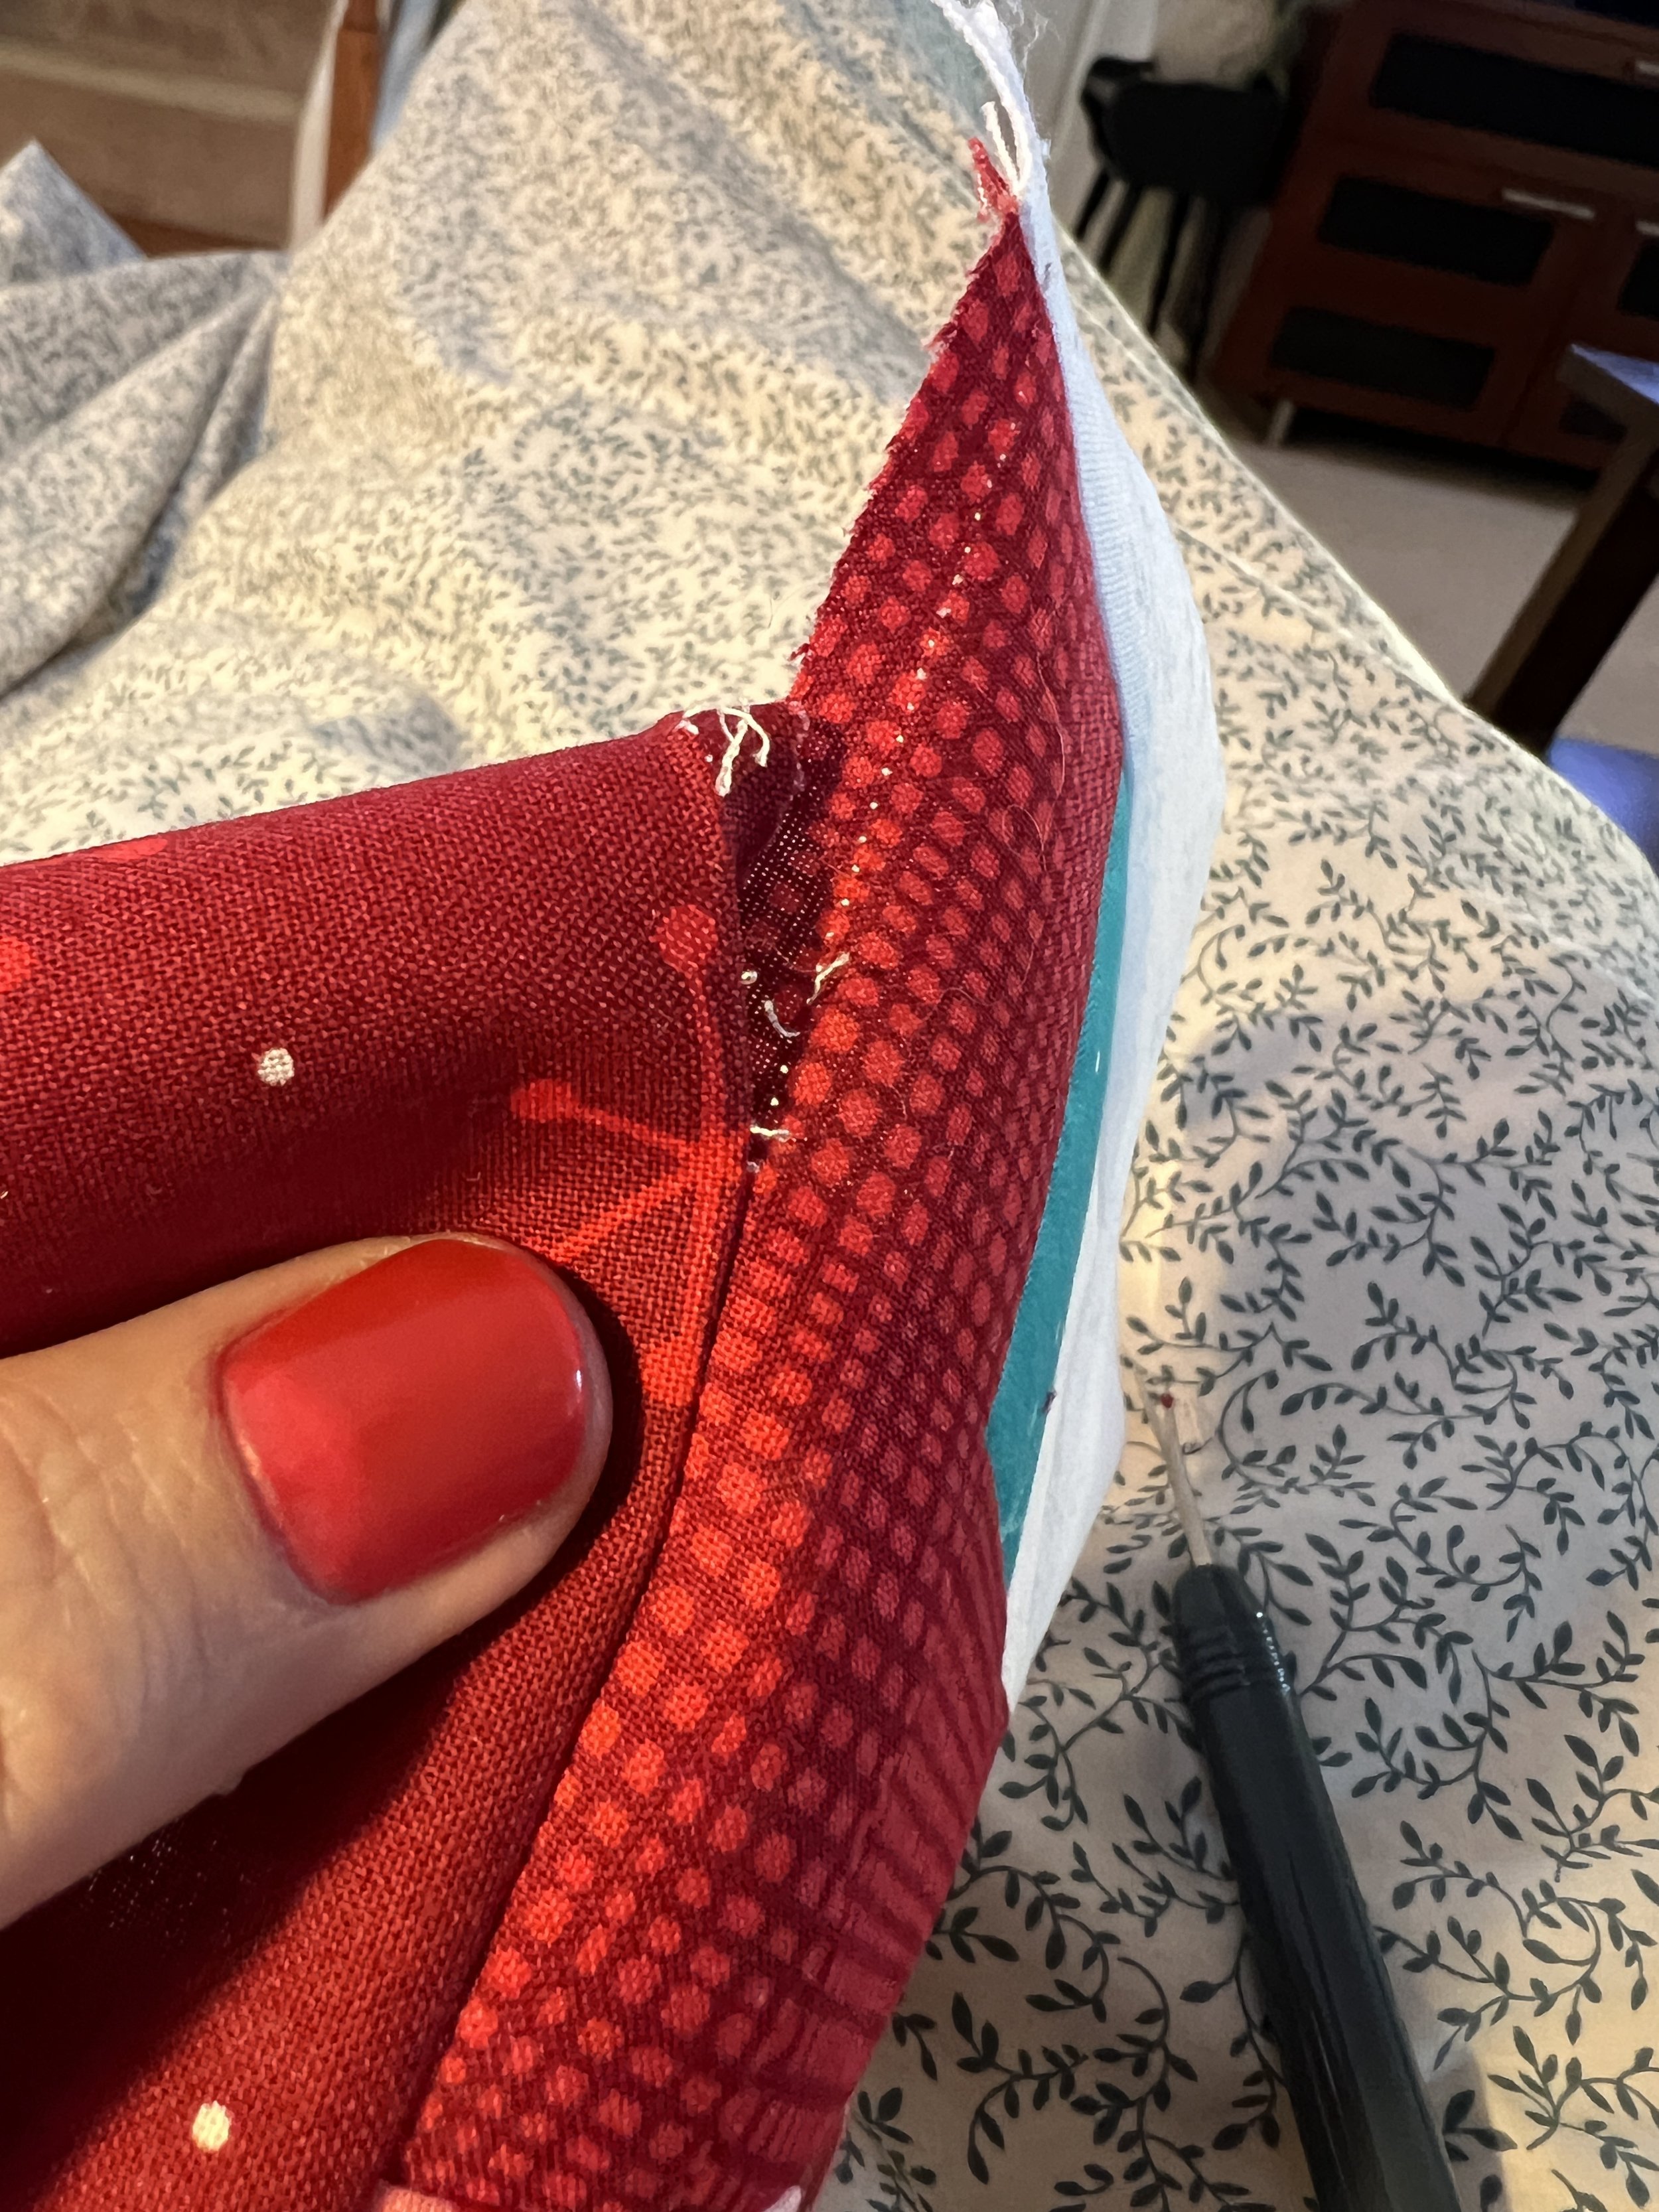
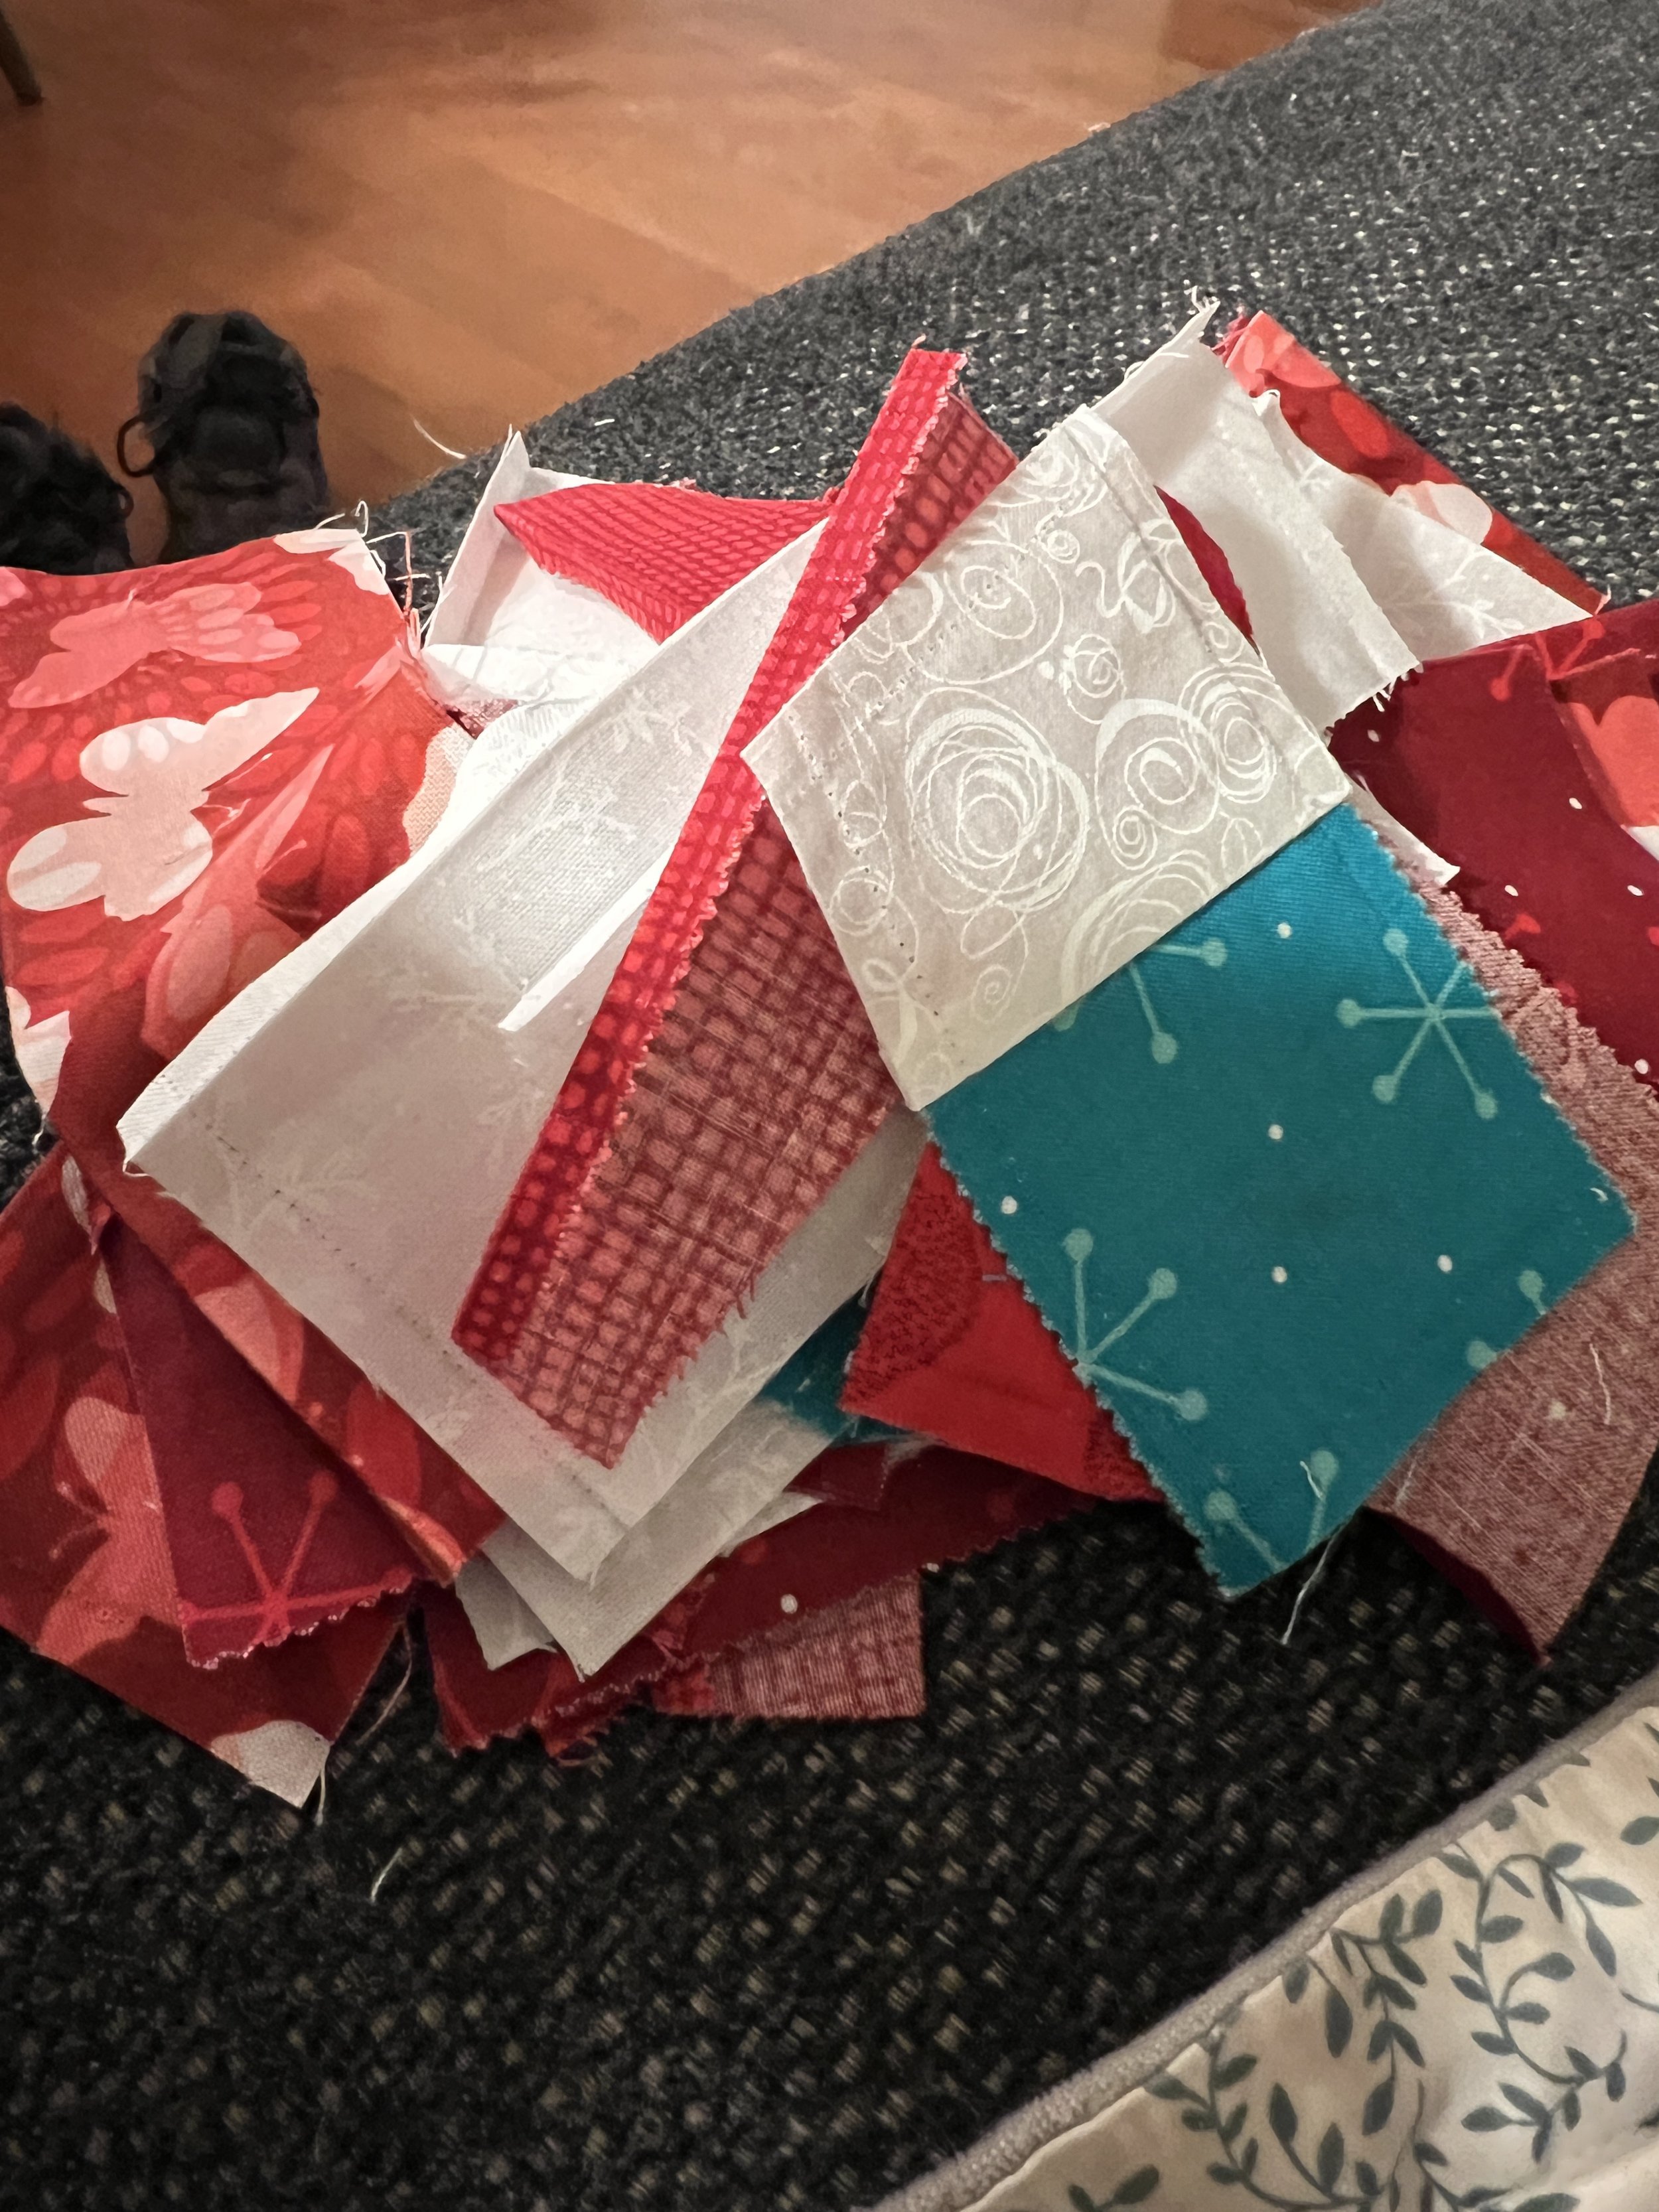
I spent a couple of hours totally deconstructing four log cabin blocks. Yikes, that’s a lot of seams to rip. It turns out I really had started wrong from the get-go on this set. After sewing the first light to the center square, I then started sewing everything in reverse. What the….? This wasn’t my first set. No idea. Now I get to sew them all back together, crossing my fingers that all the pieces still fit somehow, although I’m not holding out much hope since they’re all wedge shaped.


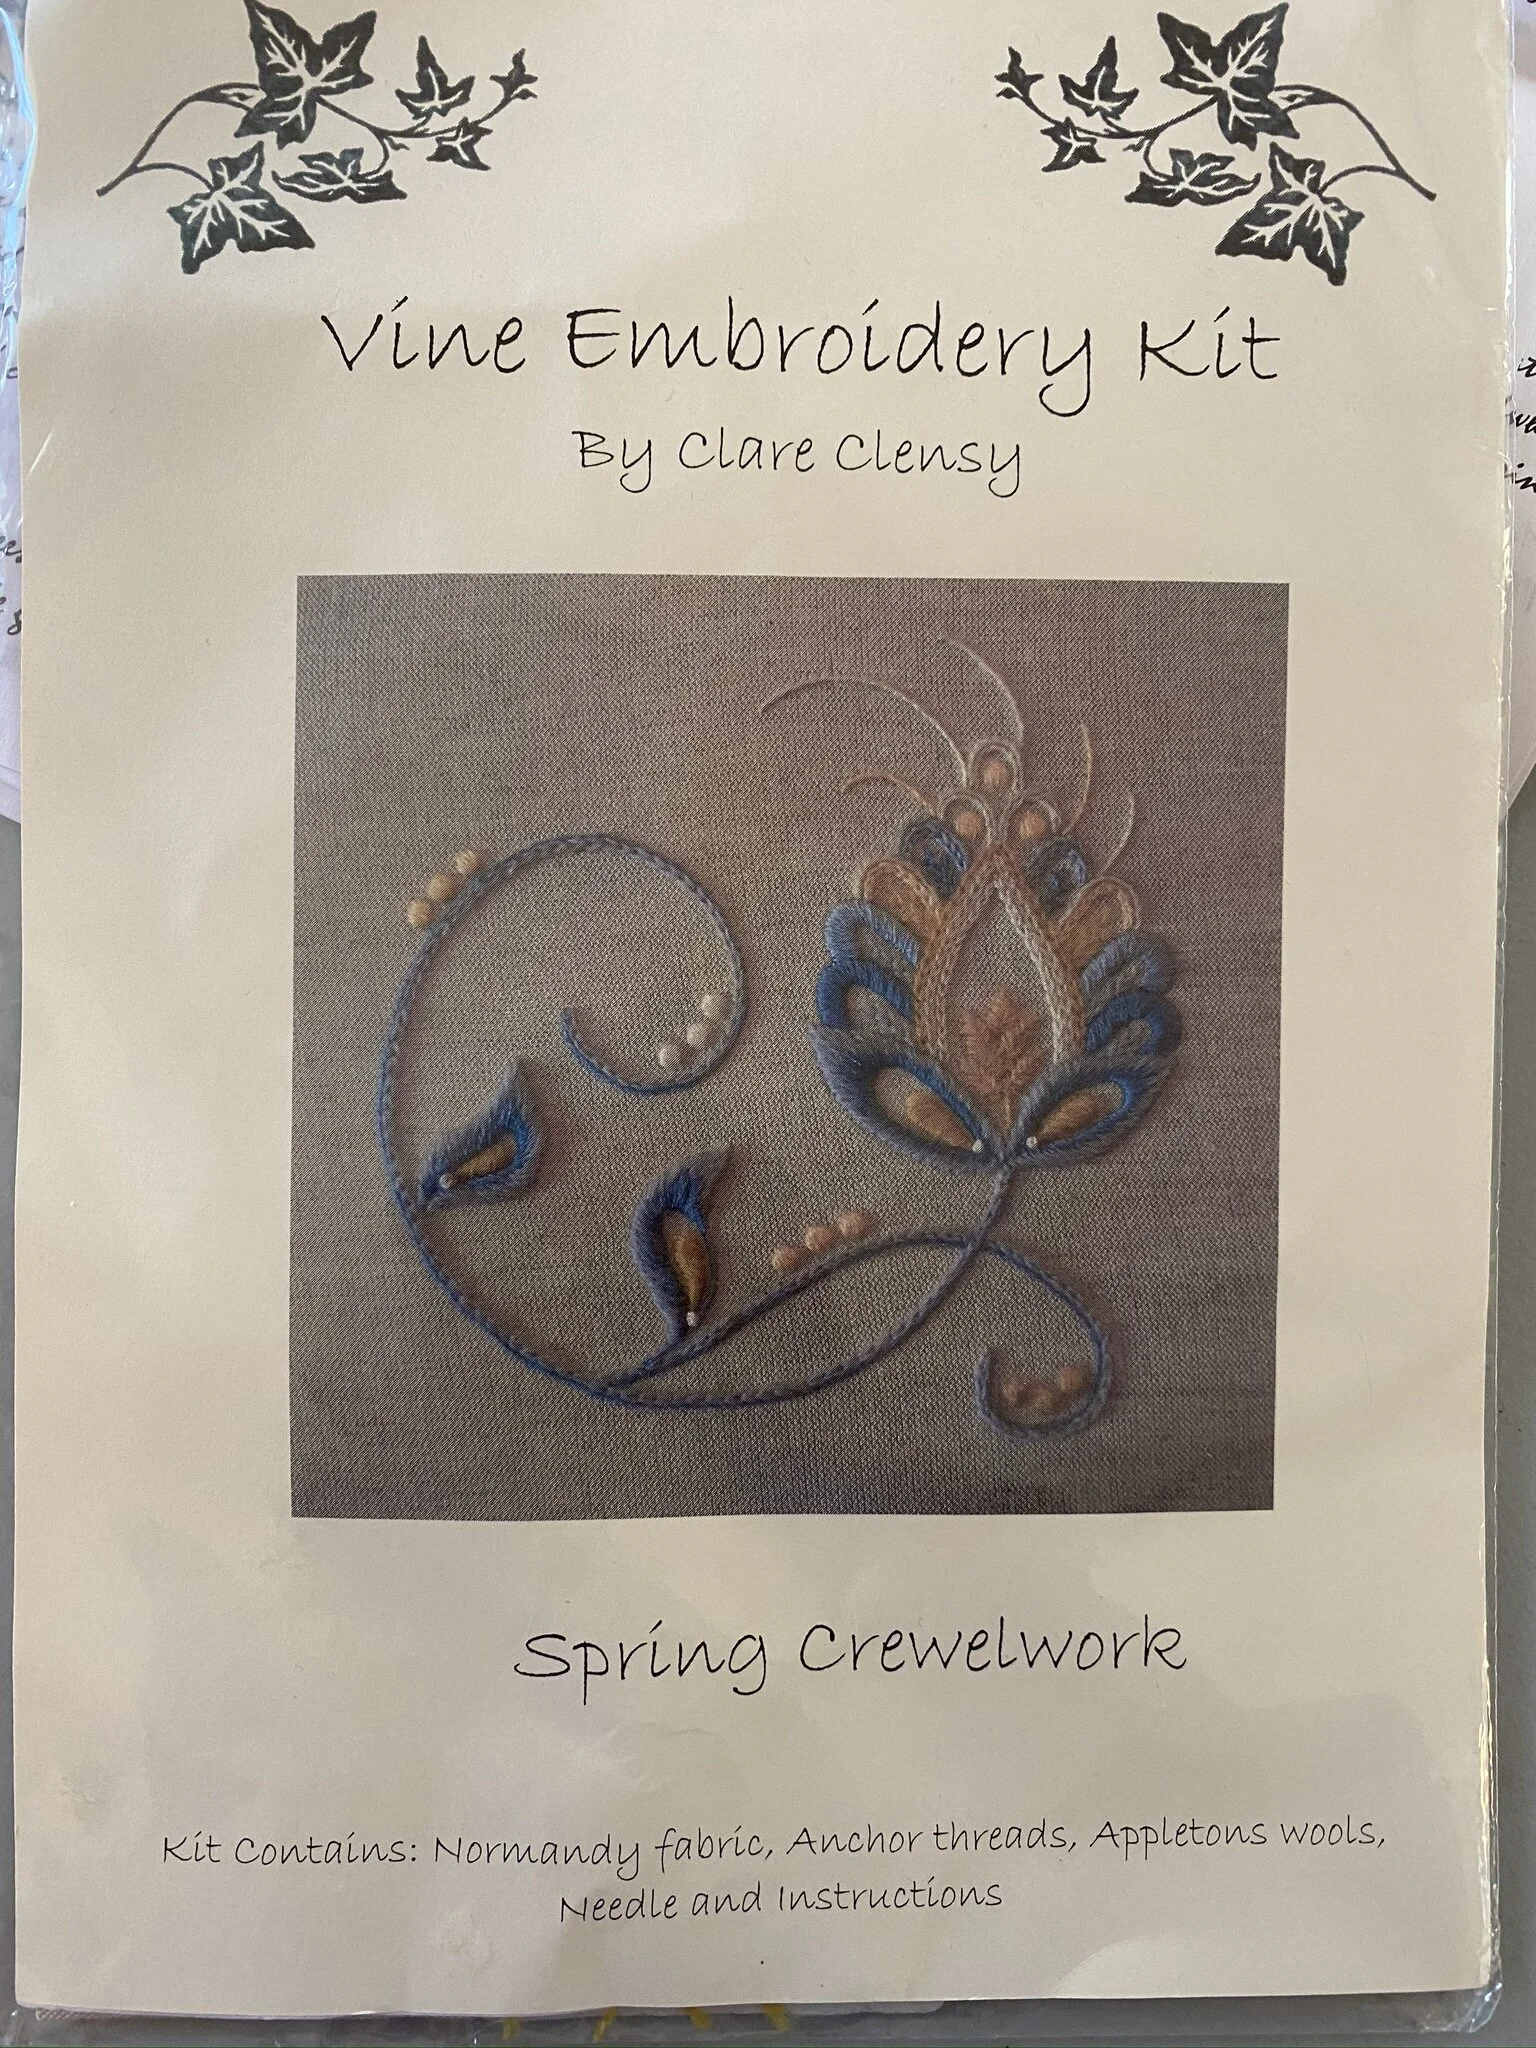
Meanwhile, I’m getting back on the EPP wagon. This was last night’s completed flower. Still no idea what I’ll be doing with these or how many with this particular set of fabrics I actually want to make. I’m just going to keep stitching along until I get bored or something.

Lousy lighting. They’re really much prettier than this would suggest.


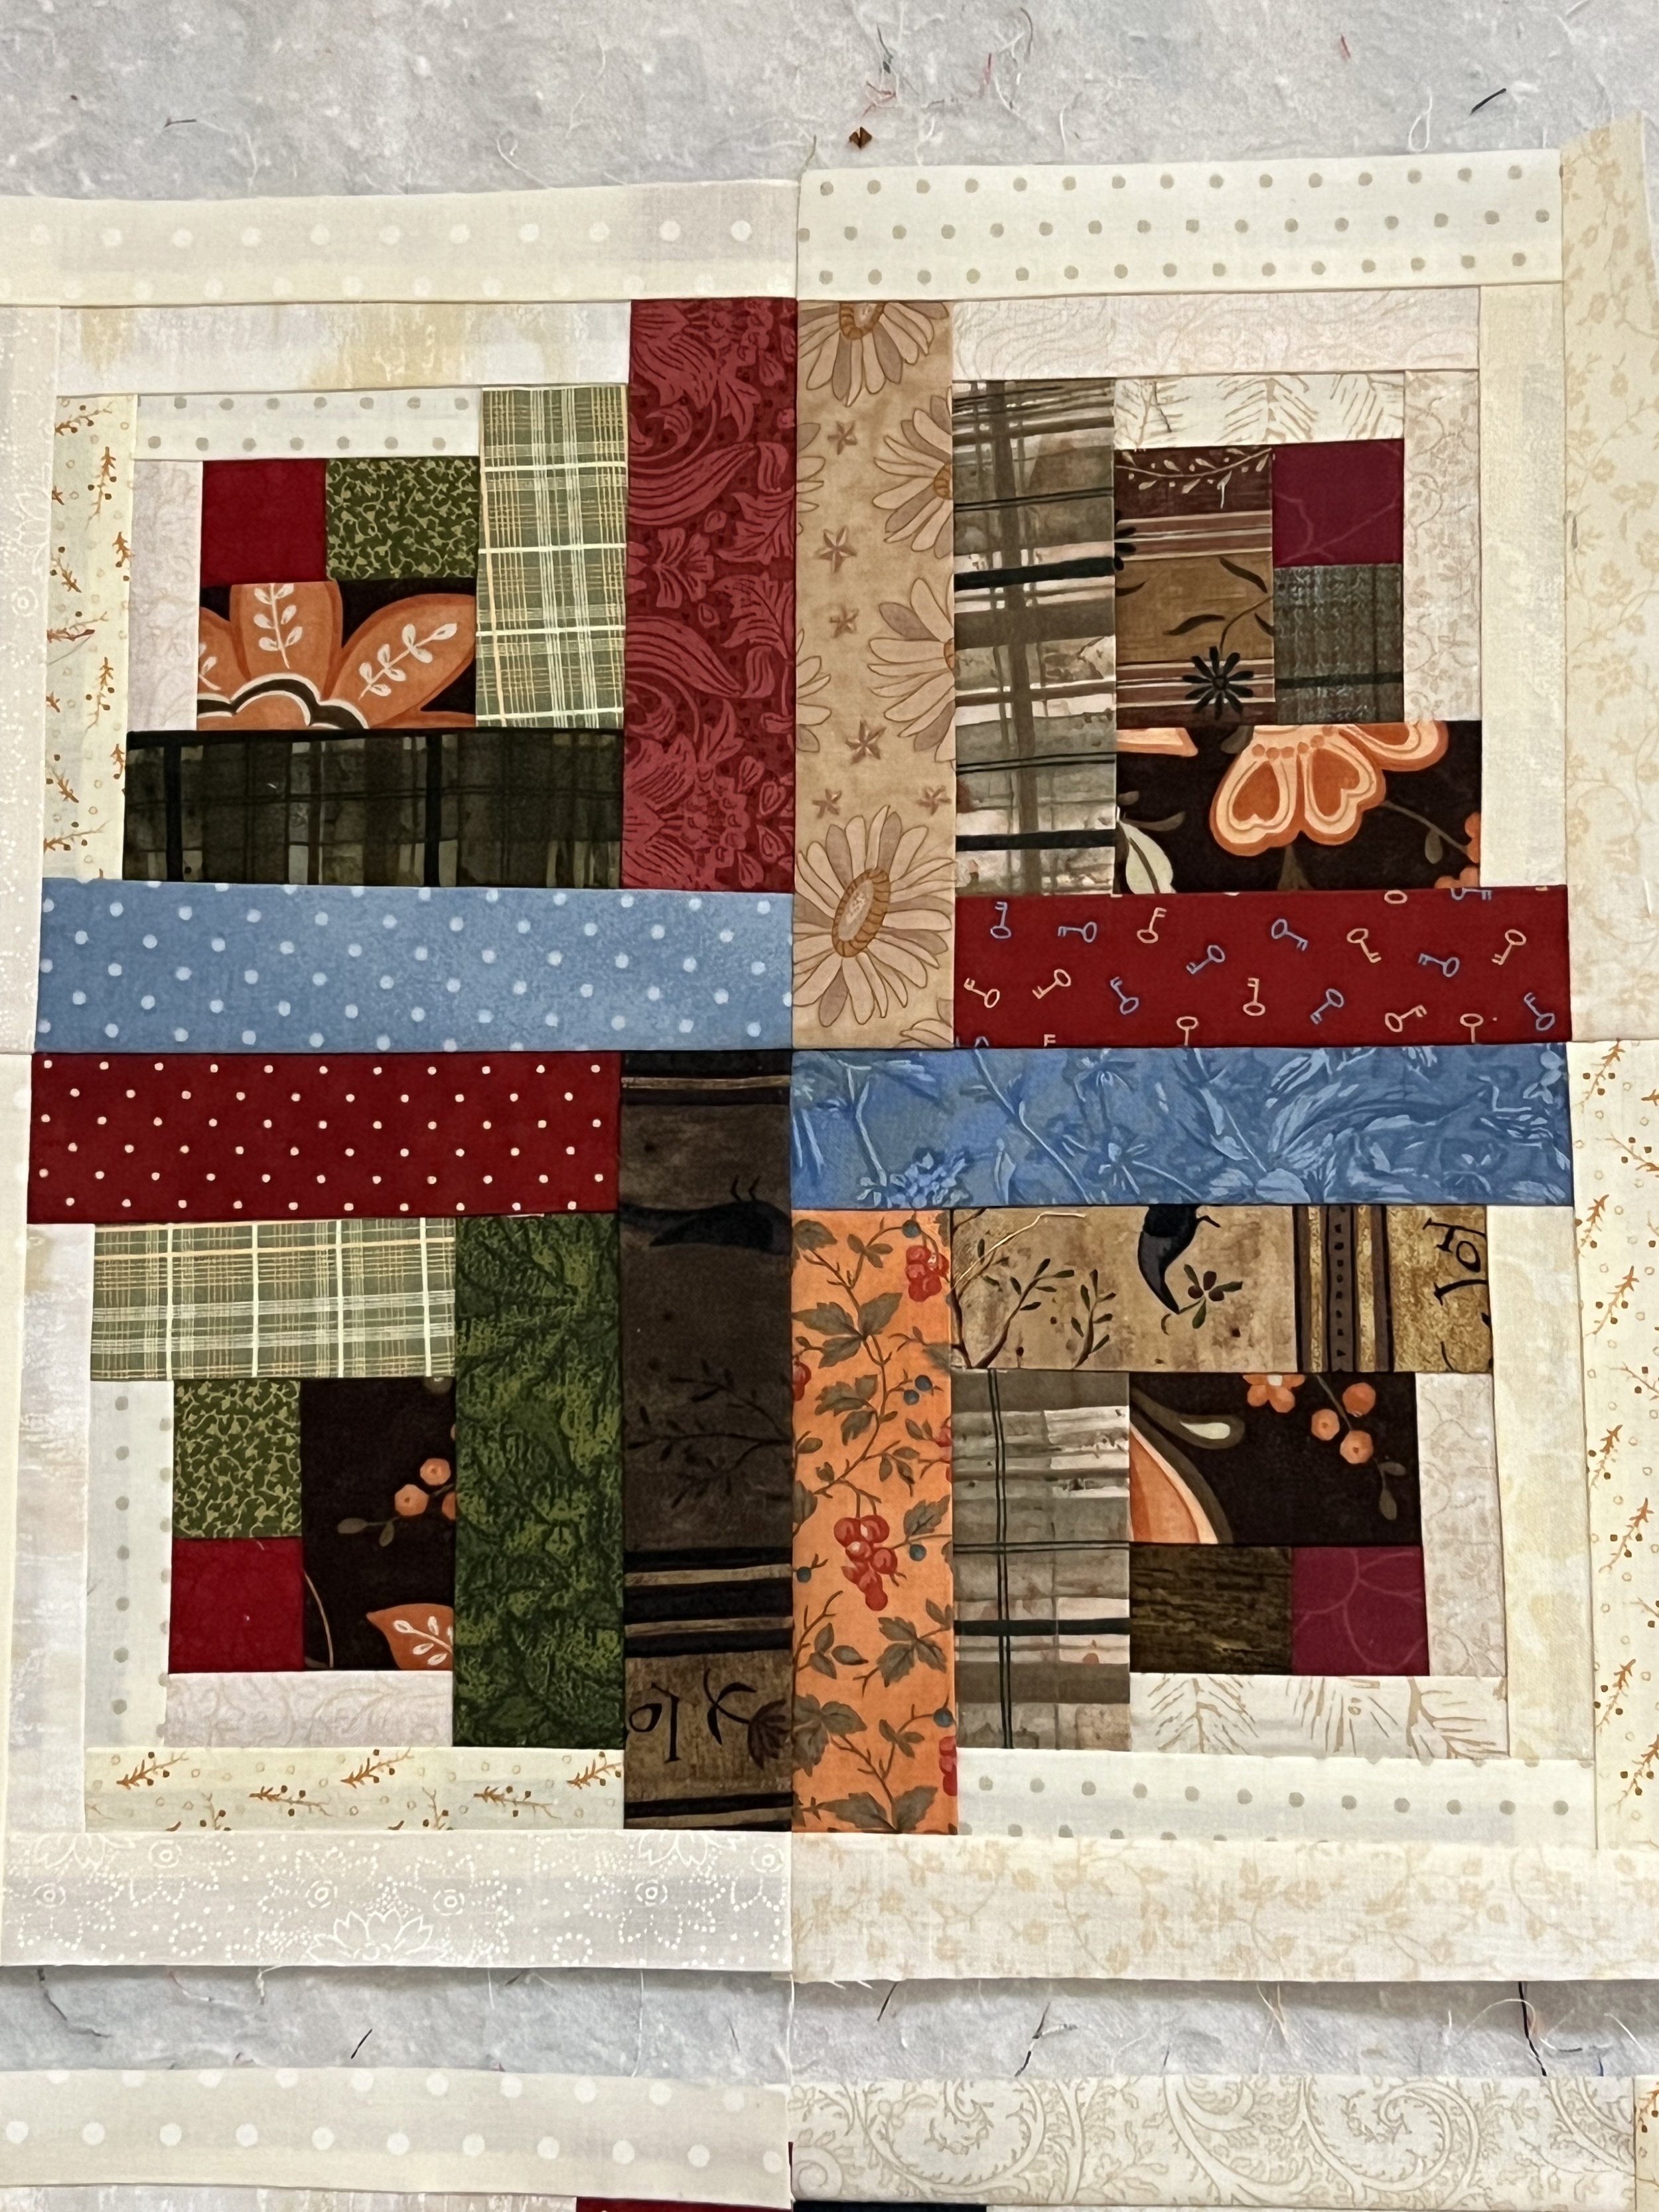
And here ya go: The pic of the newest Log Cabin test blocks. The bottom one is another test of the Accuquilt die; the top two are using the Creative Grids Log Cabin trim tool (Duo—6” and 12” on same ruler). Listen to my last episode for my commentary on these two, as well as the explanation for the random “which one of these things is not like the others” log in the bottom block.

TAA-DAAA! Introducing the Storm at Sea Top Finished!

Can you hear my happy dance from there?

I couldn’t fit it all in one picture—it being huge n’ all. Something like 108” by some-other-big-number. As I’ve thought about it (I was still debating when I posted my episode), I will definitely be sending this puppy out for quilting. I need to keep truckin’.

Made using the Storm at Sea block die from AccuQuilt*, an assortment of batiks, and a whole lot of Aurifil 50 wt “Sea Biscuit” thread, my new favorite neutral. The couple who will be receiving it are California kids, so a sea and beach theme seemed appropriate. Plus, I’ve always wanted to make a Storm at Sea. Now I’ve done it. May never do it again.

*These affiliate links help support my blog and podcast. Thank you!

Catching Up...A Few Past Projects

As I mentioned in my podcast episode, I’ve had a few goings’ on. Here’s a quick gallery.

Photo 1: The sew day with friends in my office. The quilt hanging on my wall was made by my Mom—no idea what the pattern was, although it smacks of a block of the month kind of thing, or maybe a book of blocks or something. Anyway, because it has the church block it seemed appropriate for my region office. (If anyone recognizes the blocks/BOM/book, let me know!)

Photo 2: A close-up of one curvy log cabin block (using Creative Grids Curvy Log Cabin Trim Tool). You can tell I used three different quarter-inch seam presser feet in the process by the length of the longest “logs” next to each other. Having the trim tool saved me, though, as the block gets squared up every round of logs.So even though my seams weren’t altogether consistent due to the change of presser feet, the blocks themselves ended up all exactly the same size. Bonus.

Photo 3: All the blocks completed. I’m still in the process of piecing the top together.

More of "not a whole lot going on" and a question about scraps

It’s another weekend after a very long week, so motivation is at low ebb. I had to put in a couple of hours of work this morning (Saturday) for some things I didn’t get done during the week because next week…yay!…my husband and I are going on vacation. We leave tomorrow for a week. We’re staying in-state due to the virus and all sorts of travel restrictions/mandated quarantines and such, but it’ll be good to have a change of scene.

IMG_0996.jpeg

In terms of creative work, I did take about an hour last night to work on my newest embroidery project.

I decided I wanted something just a bit more challenging, and I’ve been wanting to do some crewel work again. I love Jacobean-flavor designs, so I bought this kit. It’s a small project so it’s just enough to be interesting without being overwhelming. The “challenge” piece is to help me perfect my stitching, really. there aren’t any new stitches for me in this. Just a more complex combination of them.


IMG_0999.jpeg

Also, after trying to do good French knots on my last project which was in a hand-held frame, I decided I really needed to figure out a way to have both hands available. So after reading some recommendations and such, I ordered this from Amazon.

It has three different hoops you can use with it, plus I ordered the clamp accessory you can get to use other frames. It’s nice and sturdy with several adjustable points.

The trick is knowing how to position the darn thing.

I used it for the first time last night and kept getting myself into all sorts of awkward positions as I was working my way around the design. Like I was playing Twister or something.

It wasn’t until I’d finally decided I was too tired to do anymore last night and was putting things away that I realized an entirely different way I could’ve positioned myself with it and probably would’ve had far greater success. Oh well, that’ll wait until after vacation.


IMG_1039.jpeg

I’d actually taken my first stitch in it last weekend, but with just that one stitch I managed to get myself a pretty serious tangle in the back. I was WAY too tired last weekend to have even been pretending, so I set it aside, tangle and all.

So… all that’s to explain why I only got this much actually embroidered last night.

Watch me burning up the track.

It took several minutes to get that tangle taken care of, several minutes of futzing with the new frame to figure out how I was going to sit, and then away I went. Watch my dust. (It was very slow going.)


I’d planned on making myself some more masks today as I’m not sure I actually have enough cloth ones to get me through a week away. However, I discovered I am well and truly out of elastic and don’t like any of the other methods. So I’ll have to use the disposable paper ones once I’m out of my cloth ones. I already have elastic on order so, by the time I get home next week, I can make myself a few more. I just thought I remembered having a couple of mask’s worth left. Nada.

Instead, I decided maybe I’d cut some more scraps into usable sizes. Well, motivation left me on that one too, so here I am writing a blog post instead. But I have been doing some blog-surfing to decide what scrap sizes I want to cut routinely. I’ve been doing 2 1/2” strips for a long time—whenever I cut fabric for a quilt, if I had less than a half-yard left, I’d slice it into 10”, 5”, or 2 1/2” strips/squares. Now I have a whole lot of “real” scraps from making masks—fat quarters with big holes in them. I’ve been doing 2 1/2” squares, and a few tumblers with my tumbler die when the piece is a little bigger. But I really want to get myself into a system.

In my growing AccuQuilt collection, I have a 5” die, a 2 1/2” square die, and a 2 1/2” strip die. Those are easy sizes to cut, and I do still remember how to use a ruler, LOL.

ScrapTherapy uses 2”, 3 1/2”, and 5”.

Bonnie Hunter does strips in 1 1/2”, 2”, 2 1/2”, 3”, and 3 1/2”, then cuts those down when she needs squares or rectangles. (She seems to vary from these sizes but those are her standards.)

In my current scrap stash, I have 2 1/2” strips, some 2 1/2” squares, 5” squares, 10” squares, and some small number of 1 1/2” strips.

If you’re someone who routinely cuts scraps into usable sizes, what sizes have you found most helpful to have in a stash? I don’t want to get overly complicated, but I would like to get in habits so I need to be more systematic.

Help?

Weekend Check-in Number One: Mostly Prep-work

I got my new Accuquilt Mask dies this week so I was anxious to make up some masks to see how well they worked.

82B24FE7-A7A9-4607-9B5F-6EAC34BB08FC.jpg

Learn from me: Do NOT use the instructions that come packaged with the die. Lots of important steps left out.

I ended up with this mess—exposed seams, fabrics every which-way, some sort of something going on with the elastic as it didn’t explain that well at all and I finally ended up shoving the ends of the elastic in and nailing them down the way I had been doing in the other masks but this one had all sorts of seams coming together and it was a heck of a lump…. ahem. I kept looking at the instructions thinking I must have misread something but I’d followed those dang instructions exactly. Poor quality control.

Had I watched the Accuquilt video first, or used the downloadable directions from the website, I’d have been at least somewhat better off as they both had correct instructions for the cutting and sewing. Mostly.

The downloadable instructions tell you to use a different seam allowance than the video I was watching (which was from a quilt shop) because the Accuquilt tutorial video also leaves out a key step: how to attach the ties or elastic.

C’mon, Accuquilt. Get your act together.

Anyway, between the downloaded directions, the quilt shop’s video, and what I’d already figured out how to do by making other mask patterns, I finally got some made. The first photo shows you just how old some of these fat quarters are that I’m using up to make masks—2002? Yikes. My Thimbleberries Era. They make very pretty masks, even if they’re not really my jam anymore. The blue mask is one I made for my husband. The outer fabric is a batik he brought me back from a work trip he took to Alaska—the lining is another really old fat quarter I was glad to use (and it’s cotton, which is far more comfortable against the face than batik is). He didn’t like the way his bulged out at the sides so I took in a quick tuck on either side. It’s not pretty but it’s wearable. I don’t mind mine bulging out—I don’t have to wear mine for as long at a time as he does.


Then I got to work making “kits” to give to a friend of mine who is making masks to sell as a fundraiser for an orphanage in her home country of Myanmar.

She’s going to use elastic so I’m not worrying about cutting the ties. This is the perfect partnership as I don’t mind doing the cutting and donating lots of fabric to the cause, and she doesn’t mind doing the sewing.

I have 13 medium-sized sets cut right now—that represents lots of fat quarters. For the medium and large dies, I get two out of each fat quarter—haven’t done any small ones yet but I’m thinking I may be able to squeeze three. Sadly, I haven’t even made much of a dent in my fat quarter stash yet, but at least it’s no longer overflowing its drawer.

And I’ve got lots of decent-sized scraps left over that I’ll be able to cut down into usable sizes for other scrap projects.


IMG_0744.JPEG

Finally, I mentioned in the Twilters! Facebook group that I’ve registered for the Mancuso Online Quilt Festival this coming week. I’m taking Thursday and Friday and all next week as vacation, and I plan on sewing my head off!

I’m taking a class on the curved log cabin on Friday (I think—not sure which class is which day). It uses 2 1/2 yards of lights and 2 1/2 yards of darks, so I’m pulling entirely from my strip stash. 80 strips total, and I still have a ton left. However, it feels good seeing all of these finally getting used!

I’ve got a pretty wide variety in my darks but I’m hoping that helps it have a little sparkle. The yard of burgundy is the center squares, and can I tell you how glad I’ll be to use that one? It’s one I inherited from my Mom’s stash, and she passed away in 2009, and it looked like it had been on her shelf for quite awhile before I took it. That one is just crying for a home. It’s just an odd enough color that I’ve never found a project I could use it in—so this one is perfect. Cut into pretty small squares, the oddness of the color won’t stand out.

I’m trying to channel my Inner Charlotte with the randomness of the darks. I was mostly sticking to “colonial” and/or “country” tones (again, from my Thimbleberries Years and a whole lot of strip exchanges at my guild), but have a few ringers in there. I think it’ll be okay.

Now I have to start chopping all of these down into the appropriate sizes for the blocks. That’ll be tedious. Saving that for tomorrow.


Last news of the day: Doggos got into the groomer today for the first time since February. Sadly, this turned out to be the last time Princess Doggie goes. She’s going to be 16 in September and is showing her age in rapidly increasing stages. She’s deaf, almost blind, has joint issues, and this past week has started losing her balance pretty frequently. She only let the groomer give her a bath but only one toe got its toenails trimmed before she freaked out. I’ll have to see if I can get her to let me do the rest of them. Otherwise, it was clearly just too stressful for her at this point. Aug-dog, though, was in his glory, having people pay so much undivided attention to him. As the groomer said, “He has so much [pregnant pause] personality!” I’ll bet.

Spencer was in such a fuss when she got home I put her thundershirt on her to help her calm down.

Auggie came with me up to my sewing room and crashed on his bed.

Hygiene is tiring.

(And btw, they got groomed before I did. I still haven’t brought myself to make a hair appointment yet!)

Making progress

What do you do when your preferred method of basting is basting spray and you realize you’re fresh out, so you need to make an online order and then wait for it to come before you can finish the baby quilt you’ve started?

Why, start another baby quilt, of course.

I believe I mentioned in the last blog post that I’d rediscovered a set of fat quarters in the search for mask materials and decided to make a little playmat for my baby niece, in addition to the quilt I’ve already got in progress for her. “Playmat” just means I didn’t have enough fabric to make an officially-sized baby quilt, so it’s just a small quilt for a baby. A newborn-sized baby quilt, perfect for a little girl who’s just about 6 weeks old now. Playmat just sounds slightly more intentional.


Josie's Playmat.JPG

I refreshed my memory as to how to scan fabric into EQ8, chose two blocks from my GoCube AccuQuilt block set for which I had all the dies, and played around with arrangements until I hit on one I really liked. This was the original.


Josie's Playmat step 2.JPG

I then looked at the fabric requirements and realized, nope, didn’t have quite enough for that size, especially as I was working with fat quarters, not quarter yards (WOF), which makes figuring the cutting amounts a little different.

So it got a little less square and a little smaller overall. More playmatty. 16 blocks down to 12. I had just enough fabric to make that work.

Which means you know what probably happened next.


I have conference calls every night this week, multiples in a row, so I’ve been taking mornings for myself to balance. I’m finding it relaxing to spend time in my sewing room before work.

IMG_0581.JPEG

Sunday, I found the white fabric in my stash to supplement the fat quarters for the design, and I cut some of the pieces for the Uneven Nine-Patches. Monday morning, I finished the cutting of the Uneven Nine-patches that I’d started on Sunday, and I got the blocks sewn together.

I’m not entirely sure what happened with the tone-on-tone white rectangles.

If you look closely you’ll see some of the rectangles had to get eased in a little bit. I cut them all with the AccuQuilt die. I am pretty sure I double-checked to make sure I was putting the grain in the right direction, but it’s possible something got off. However, I will say it’s a fabric that’s been in my stash for a long while, I have no idea where or when I got it (definitely quilt-quality, though), but it looks like it’s a lower thread count than the other fabrics. Might that have been the issue?


Nevertheless, I persisted.

This morning I was fairly overtired from last night’s Zoom calls, but I was looking forward to getting back to my sewing room. Grabbing my AccuQuilt dies and the posie fabric, I started cutting the 2 1/2” squares.

Or I thought I was.

Turns out, I had grabbed the wrong die. I had looked at it briefly and thought, Yep, squares. Turns out, Nope. Not squares. Two rectangles instead, and narrower than 2 1/2”. By the time I realized my mistake, I had already cut enough of the fat quarter into the wrong size that I couldn’t regroup and fix my mistake. Dang. The posie fabric had been my fave in the design.


Josie's Playmat revised.JPG

Back to EQ8 and my stash. Revision 3 of the design…

The posies are gone replaced by a Valentine’s Day fabric I’ve had in my stash for years (scanned into EQ8 to make sure it would work okay). It had come in a scrap box from…was it Fat Quarter Shop that was doing those for awhile? Are they still doing it?

In any case, it was the only fabric I had that was at all similar in feel to the rest of the fabrics. I don’t love it the way I really loved the posies, but when I cut enough squares so I could selectively use the ones that didn’t have “February 14th” emblazoned in them, and only had all the other lovey-dovey wording, it works. My SIL will probably adore the fact that it has XXOO and “sweetie” and such in it. Who knows? Since she’ll never have seen my original design, she won’t know this is slightly less-than.

And the fabric is now no longer in my stash. Always feels good to use something that’s been languishing, and I’m sure the fabric will have far more fun playing with a baby than sitting on my shelf.


IMG_0582.JPEG

So with that quick switcheroo, I completed cutting the pieces and have started sewing the blocks.

The AccuQuilt really shines when it comes to triangles. Wow, were those flying geese pieces easy to sew together. Loved it.

I will have to pay attention to the directionality of the words in the corner blocks now. I’ll either have to make sure I have them all going in the same direction, or I’ll have to switch them every-which-way so it looks random. Only having a couple going the wrong way will just be annoying.

But that’s a problem for tomorrow morning, when I’m progressively even more tired from evening conference calls. That’s an exciting thought.

Time to start getting ready for my work-day. Happy Zooming to all of you!

Wheee!!!! (And a very happy early birthday to me!)

IMG_0539.jpg

It arrived!


IMG_0540.jpg

It has a spiffy green bag that will help protect it somewhat from the free-floating Auggie hair in my sewing room.


IMG_0541.jpg

All pristine and shiny new. Almost as pretty as a brand new box of crayons.


IMG_0543.jpg

It came with the 8” block GoCube, which is a set of mix-and-and match dies to make a boatload of traditional blocks. Each die comes with a block pattern, and then there’s a booklet of patterns in the GoCube box.


IMG_0542.jpg

It also came with this book of patterns by Eleanor Burns for a sampler quilt using the dies in the GoCube. I don’t know yet that I’ll do the sampler—I don’t usually like samplers, but this would be an easy and fun way to get used to using the dies in a variety of combinations.


IMG_0545.jpg

I was unreasonably tickled by the fact that they have little green ribbon handles on each of the die cases in the GoCube.


IMG_0544.jpg

And look at all the other stuff that came too!

The package includes the 2 1/2” strip die and the long cutting mat to go with it.

The pennant dies were a freebie because I’d spent over a certain dollar amount (ahem). I’ve been wanting to do banners appropriate for the various holidays to hang on my mantle in the family room so, bang! (Now I have no more excuses.)

I added the purchase of the 5” die myself. I have a lot of pattern books using jelly rolls and charm packs so I figured having a 5” die as well as the strip die would make it a lot easier to use up some stash. Yes, I’ve been cutting my own right along, but this will be a lot more time-efficient.

(And yes, you can see my shelter-at-home-office-wear slippers. I think I’ve worn real shoes three times in the last four weeks.)


IMG_0546.jpg

The AccuQuilt was delivered shortly after lunch. Other than pulling it out of the packing box, I made myself wait to play until I was done with my work day. At the end of my day I was waiting for someone to call me back after he got out of a meeting, so at that point I treated myself to watching the instructional DVD that came with the GoCube.

(And yes, you can see the webcam that I spend most of my day using on end-to-end Zoom calls, sigh.)


IMG_0547.jpg

By the time my colleague called me back I’d finished the DVD and read through the Eleanor Burns sampler book as well as the other smaller pattern book that came with the package (it was apparently a very long meeting!).

So once the call was done, bingo—I was off and playing!

I decided to use a charm pack I’d gotten in a Sew Sampler pack that wasn’t a favorite, and then I pulled the half square triangle die because it was exactly the right size to put a 5” square over and get a clean cut. (It was actually a little close on the edges of the die but it worked.) I chopped up the whole charm pack, pulled a few of the triangles together and sewed them together into a pinwheel.

It took me maybe 15 minutes to cut the whole charm pack and I think it only took that long because I’m a newbie. It took about 5 to sew the block together.

OMG, LOOK AT THOSE FREAKING POINTS!!!! And this was without any pinning until the very last bit where I sewed the two sides of the block—I pinned the middle seam. But I don’t know that I would’ve had to. It went together like a dream.

I’m so happy.

(Editor’s note: It’s is just entirely possible that the author of this blog may have already ordered two more dies—one with three different bird types, and an owl die. Because we all know how she feels about pudgy birds.)